How to install "Android M Developer Preview" (Nexus 9)
Following the announcement of the next version of Android OS, "Android M," at Google I/O 2015, its developer preview version, "Android M Developer Preview," was released immediately.
Android Developers Blog
http://android-developers.blogspot.co.uk/2015/05/android-m-developer-preview-tools.html
This column describes how to install "Android M Developer Preview."
To install "Android M Developer Preview" on a device, "Android SDK" must already be installed on PC.
* Installing the preview version will cause the device to be initialized. Moreover, as it is the developer preview version, its successful operation is not guaranteed. Please install it at your own risk.
Downloading "Android M Developer Preview"
Download site
https://developer.android.com/preview/download.html
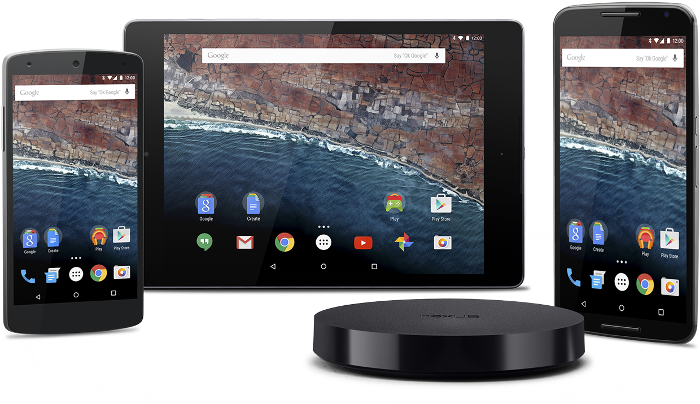
At present, the preview version can be installed on the following four models:
- Nexus 9 (GSM/LTE)
- Nexus 6
- Nexus 9
- Nexus Player
On the download page, click the system image of the model upon which you want to install the preview version.
* In this column, the preview version will be installed on Nexus 9.
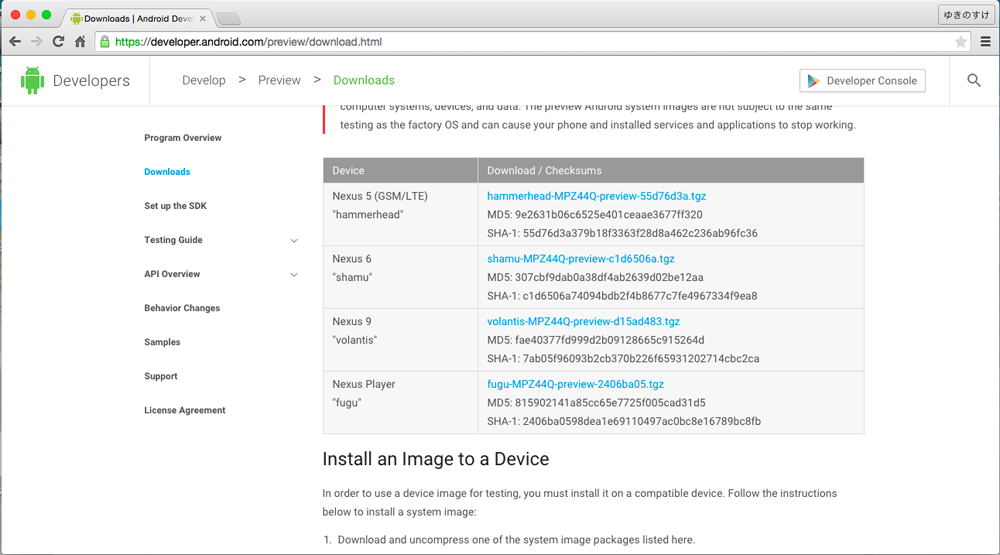
Terms and Conditions will be displayed. Check "I have read and agree with the above terms and conditions" and click the DOWNLOAD button.

Installing "Android M Developer Preview"
1. Uncompressing the File
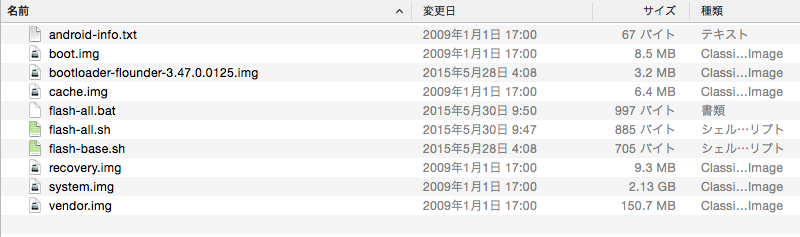
Uncompress the downloaded file.
* In the case of Nexus 9, the following file is downloaded:
hammerhead-MPZ44Q-preview-55d76d3a.tgz
Uncompressing this file will generate the following files in the hammerhead-MPZ44Q folder.
bootloader-hammerhead-HHZ12h.img
flash-all.bat
flash-all.sh
flash-base.sh
image-hammerhead-MPZ44Q.zip
radio-hammerhead-M8974A-2.0.50.2.26.img
2. Connecting Nexus 9 with PC
From the setting screen of Nexus 9, open "About phone" and tap "Build number" seven times, which will add the "Developer options" menu to the setting screen.
In the added "Developer options" menu, check "USB debugging."
After finishing the above settings, connect Nexus 9 with PC using a USB cable.
3. Starting the Installation
Start Windows Command Prompt or Mac Terminal and move to the "hammerhead-MPZ44Q" folder generated by uncompressing hammerhead-MPZ44Q-preview-55d76d3a.tgz.
Execute the following commands from the uncompressed folder in Command Prompt or Terminal.
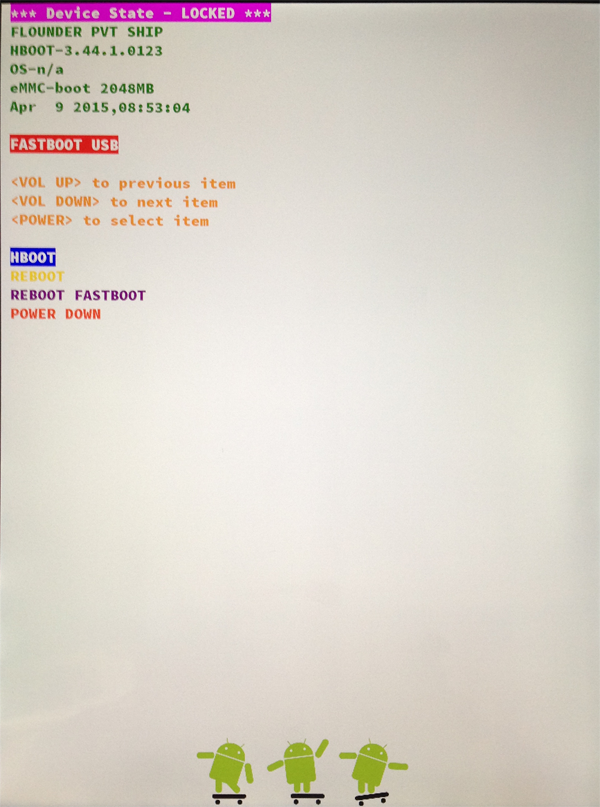
- Execute "adb reboot bootloader."
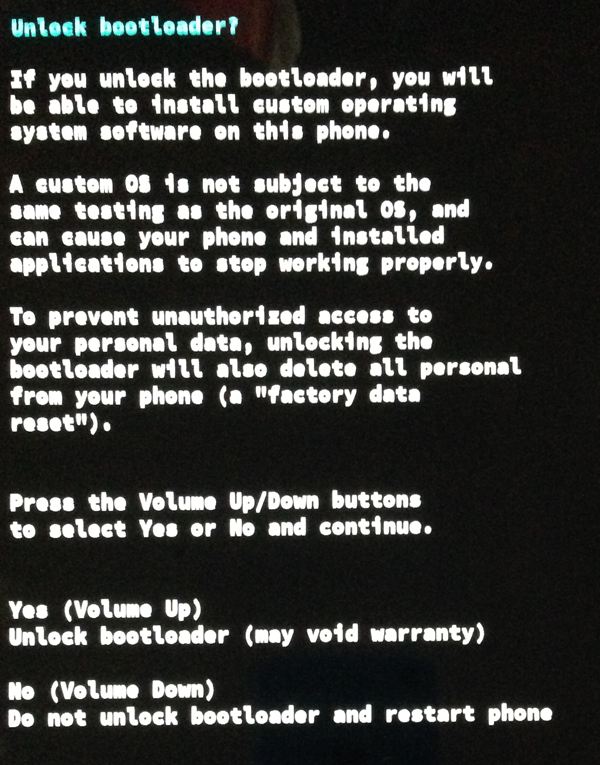
Nexus 9 will reboot and start the following screen:
- Execute "fastboot oem unlock."
Select "Yes" on the screen of Nexus 9.
* Select "Yes" using the volume up/down buttons and confirm using the power button.
- Execute "./flash-all.sh."
Once finishing the above operations, the installation of "Android M Developer Preview" will start.
* The installation will take about 5-10 minutes
After finishing the installation, Nexus 9 will automatically reboot and display the initial setting screen of Android M, which means that the installation is complete.